Electronic flight bag
To help managing all actions related to the aircraft, an EFB has been implemented, similarly to all our other aircraft.

Screen luminosity can be set from the top bar.
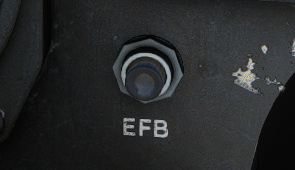
EFB can be closed with a click on its main button, and reopened from a button on front panel. It can be moved on the seat by clicking on its right border.
Aircraft
First page covers main functions related to the aircraft:
-
GPU connecting and disconnecting.
-
Wheel chocks display.
-
Aircraft covers display.
-
Switch between original and modern landing lights.
-
Switch between solid and glass cargo dome.
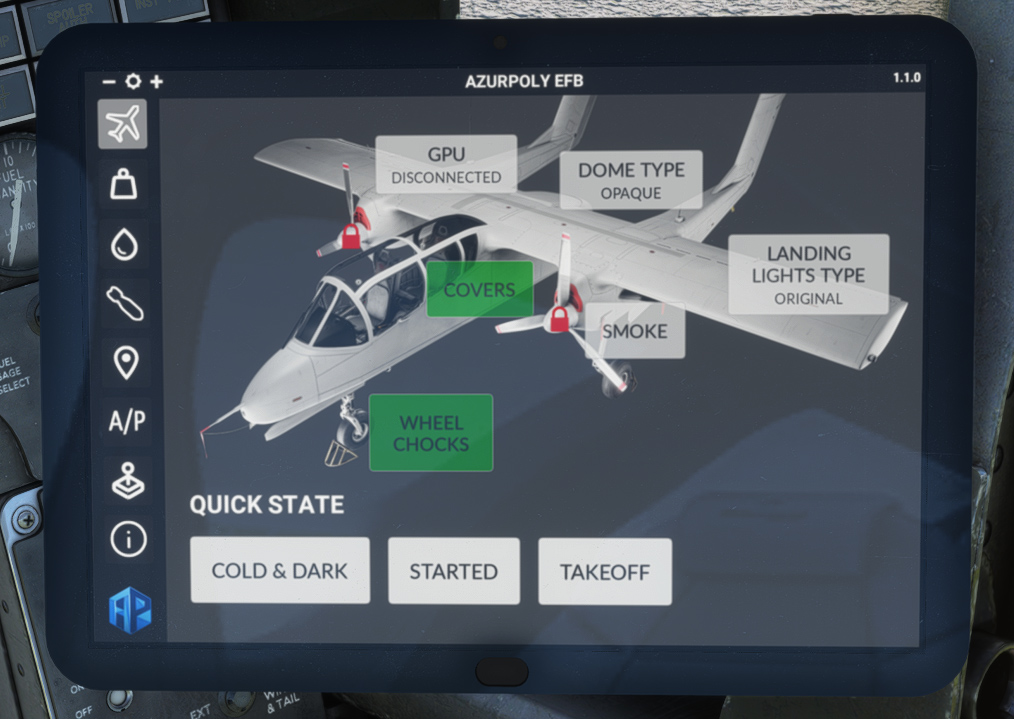
To bypass manual actions, pre-defined configuration can be set:
-
Cold & dark (all off).
-
Aircraft started.
-
Takeoff configuration.
Doors
On the left column, several checkboxes for:
-
Yoke display (can be achieved as well by clicking on lower seat ejection handle).
-
Copilot display.
-
Gunsight display.
-
Toy display.
GPS unit can be selected (GNS 430 or GTN 650) or completely hidden.
Just below, a weight recap is displayed with fuel weight, payload weight and total weight, in order to check that maximum takeoff weight is not exceeded.
Inside aircraft top view, each canopy can be opened and closed, along with engine maintenance doors and rear cargo door.
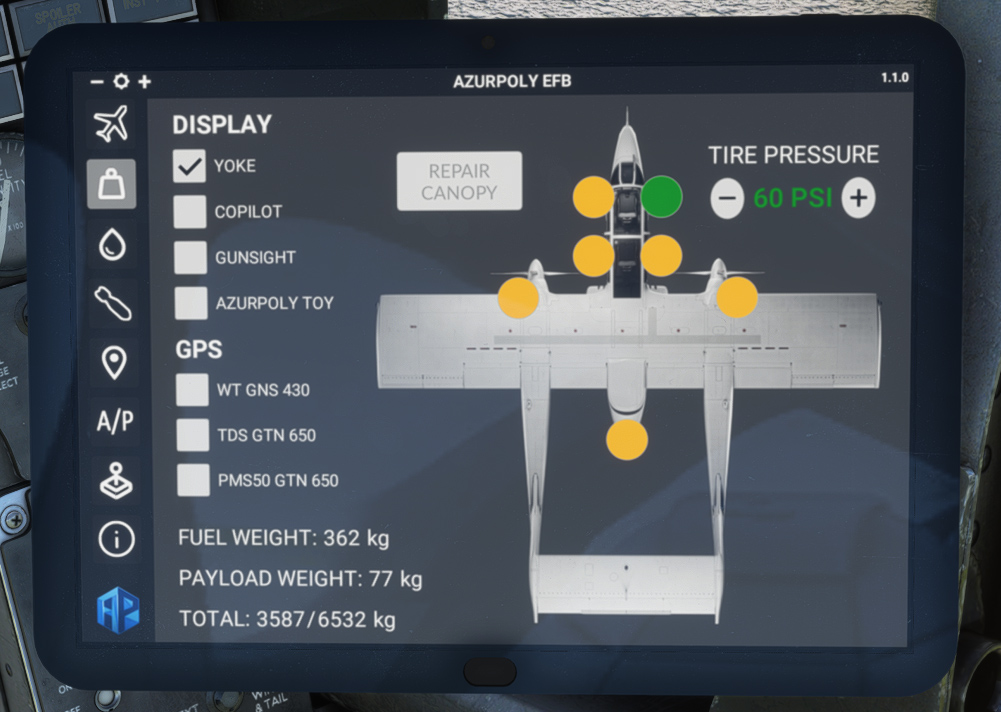
Other functions are:
-
Smoke button.
-
Canopy repair button (in case canopy was ripped off during flight).
-
Tire pressure setting.
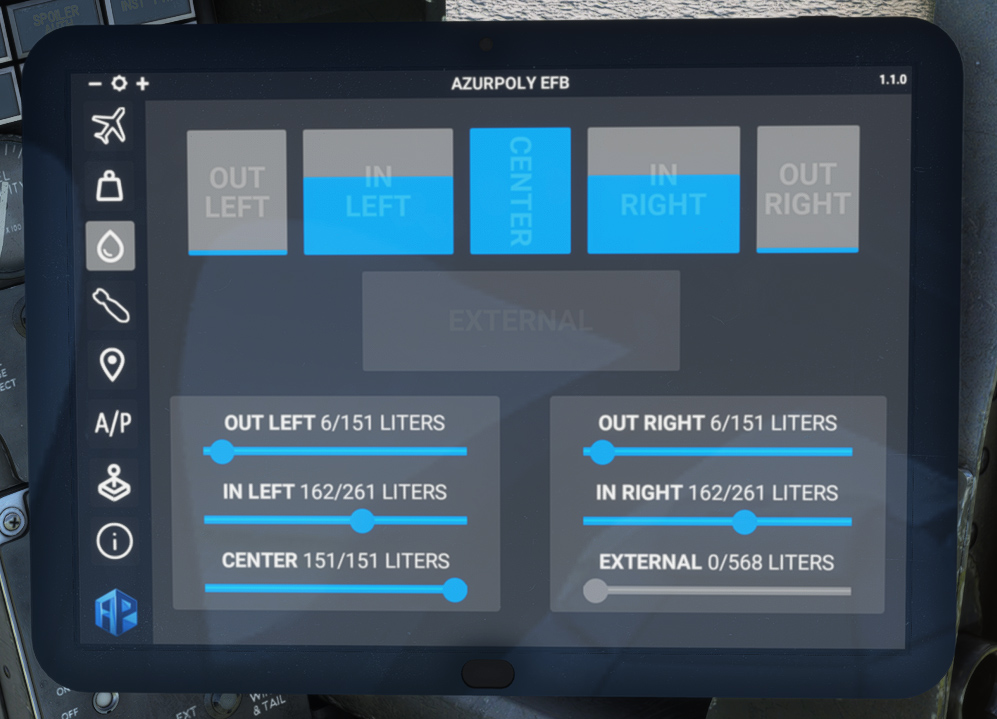
Fuel
This page shows fuel quantity in each of the five internal tanks plus in external tank, where you can use sliders to update quantity directly. You can achieve the same by using default fuel menu.
Click on external tank box in order to add it or remove it from the aircraft.
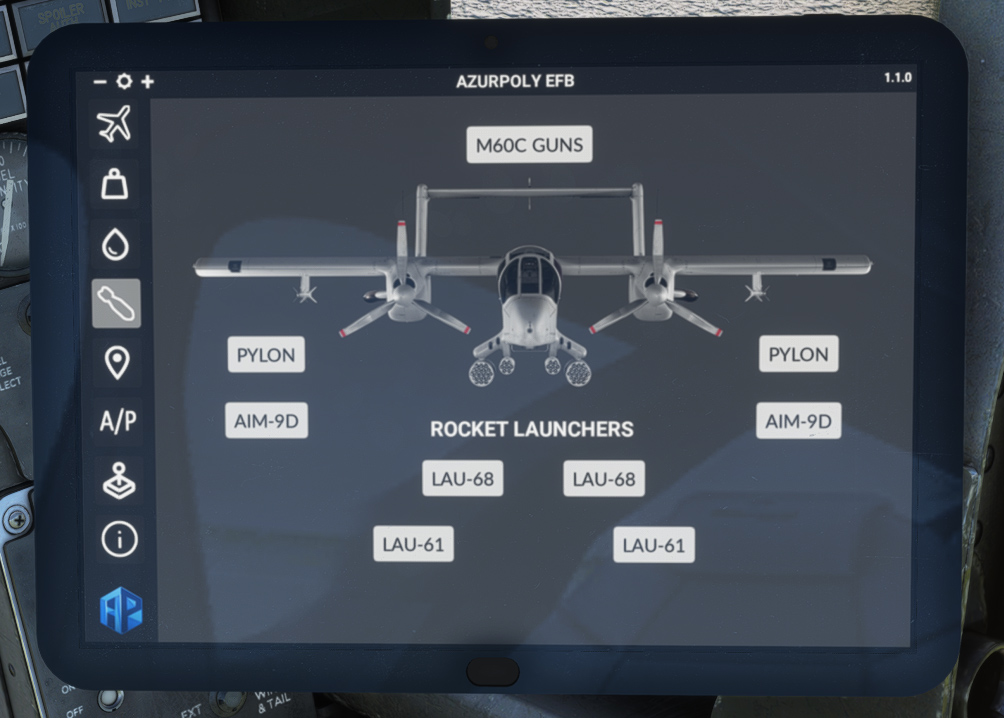
Weapons
This menu is available if you are flying the OV-10A variant (OV-10B does not carry weapons).
It shows various weapons (guns, missiles, rockets) that you can display on the aircraft. Please note that adding weapons will impact the weight and balance of the aircraft.
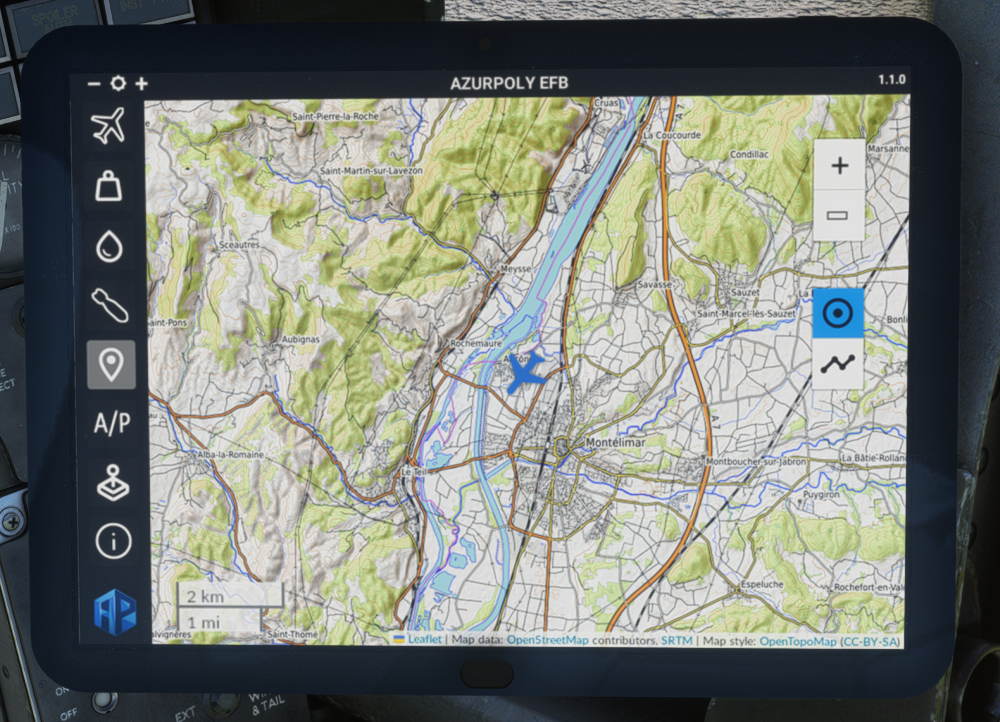
Map
This menu consists of a map showing current aircraft position.
Different controls on the right part allow to interact with the map:
-
Zoom buttons.
-
Button to stop auto centering to aircraft position.
-
Trajectory button to show or hide aircraft path.
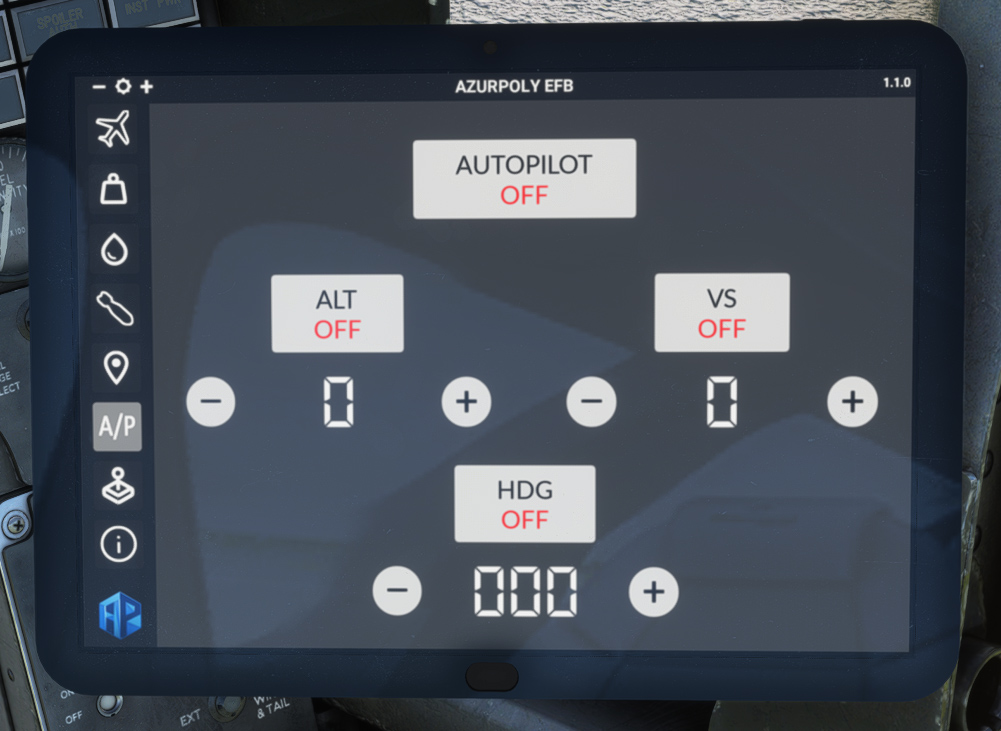
Autopilot
As the aircraft does not have any autopilot, you can use this page instead.
Clicking on top AUTOPILOT button allows to switch autopilot master on.
When turning ALT or HDG mode on, current altitude/heading will be used by default, and you can change the values with ⊕ and ⊖ buttons, in order to change target altitude or heading.
VS button allows to initiate a climb or a descent by choosing a target vertical speed (feet/min). The aircraft will automatically stop at the target altitude (set below ALT button) and hold it.
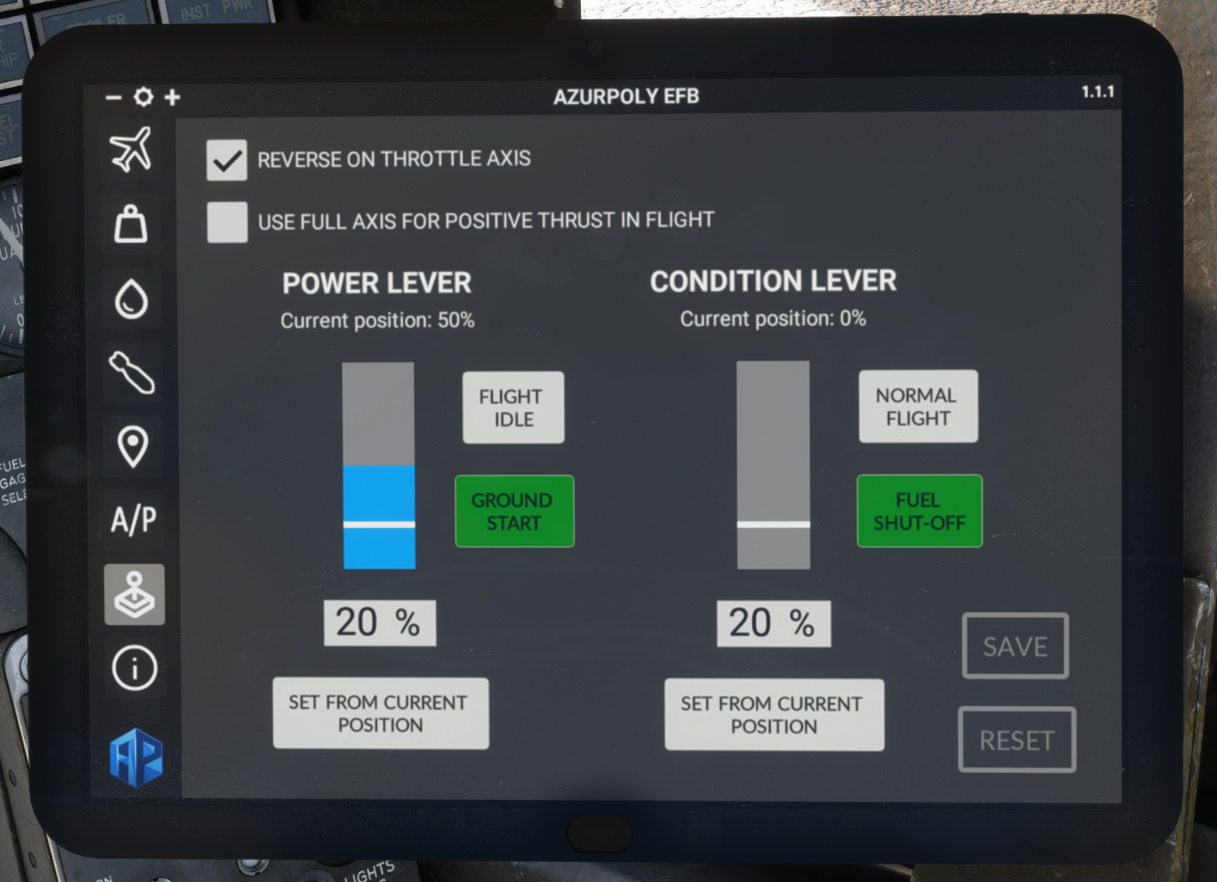
Controller settings
As mentioned in engines section, power levers and condition levers can be bound to controller axis.
You can manage axis settings from this page depending on your flight controllers and personal preferences.
The first checkbox allows you to choose between different options for power lever axis:
-
Use the axis for positive throttle zone only, and switch to ground start/reverse zone using toggle buttons (default).
-
Use the single axis for all positions between full reverse and full forward.
In case you are using second option, you can set GROUND START and FLIGHT IDLE positions on the axis, using keyboard input or a button to set value to current axis position. Please note that GROUND START position can only be selected with aircraft on ground.
The second checkbox changes the behavior in flight. As GROUND START position (and reverse) cannot be selected in flight, the full axis range will only map the zone between FLIGHT IDLE and MILITARY positions, and other positions can be accessed again once the aircraft has landed. Do not check this option if you prefer to keep the same behavior on ground and in flight, or if your throttle has a dedicated reverse detent.
If condition levers are bound to an axis, you can also set NORMAL FLIGHT and FUEL SHUT-OFF positions on the axis.
Do not forget to click on SAVE button to apply changes.
Clicking on RESET button will restore default values.
Same setting will apply to left and right engines.
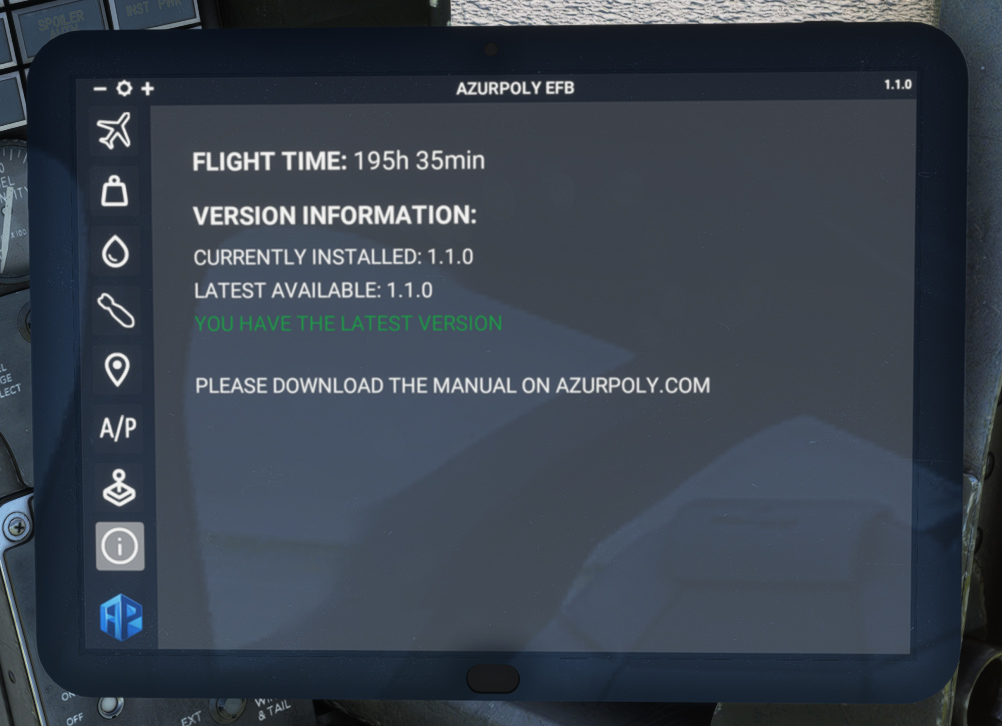
Info
This menu indicates version of the aircraft currently installed on your machine. A message will be displayed if an update is available.
You can also see your total time spent inside the Bronco.